Before You Save
There are a few things that you should check before you save your images. The first is the checking your documents Image Mode and the second is adjusting the Image Size. Here’s how to do both:
Image Mode
To check your image mode in Photoshop, go to Image > Mode. Simply put, if you plan on using your images for the web, your image should be in RGB mode. If you plan on printing your document on paper, your image should be in CMYK mode. Setting the image mode for your image’s intended end-use will help ensure that the colors for your image are displayed to their fullest color capabilities.
Image Resolution
To adjust the resolution of your image in Photoshop, go to Image > Image size. Other than adjusting the image to your desired image size, you should also check to make sure that the resolution is appropriate for its final output (which in this case, is on the web). Generally, high-quality images saved for the web are 72 pixels per inch. Anything more or less than that will make the image way too big, or low-quality. You can also adjust the image size in the “Save for Web” window in Photoshop (see below).
The “Save for Web” Window in Photoshop

Once you’re ready to save your images for the web in Photoshop CC, go to File > Export > Save For Web (Legacy). This will open up the “Save For Web” window. Understanding the different files types that you’re able to save your images as will put you that much closer to saving high-quality images for the web. To make things easy, I’m going to go through all the file types that you can save your images in (and best practices for each) in the table below:
File FormatProsConsJPGcan display millions of colors best used for colorful photographsdoesn’t support transparency quality decreases each time file is opened (lossy compression) not suitable for icons and logosPNG-8256 colors support transparency used for icons & logos with few colors similar to GIF smaller file size than GIF lossless compression (larger file than JPEG)large file size for complex images (photographs)PNG-2424-bit color supports transparency used for icons & logos with many colors similar to JPEG lossless compression (each time file is opened, quality doesn’t change)larger file size than JPEG large file size for complex images (photographs)GIF256 colors lossless compression best used for small icons with few colors best used for simple graphic images supports transparency supports small animationslarger file size than PNG
After weighing the pros and cons of each file type in the table above, you’ll be able to select which file type you would like to save your final image as. As you can see, there are several pros and cons for each file type. But, there’s also recommended use suggestions for each file type. This will help narrow down your options. Choosing the right file type for your final image will ensure that you’ll be using a high-quality image on the web.
Image Quality & Image Size
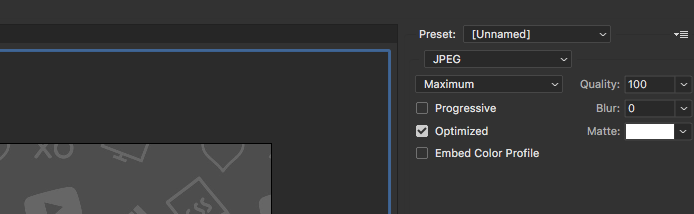
Once you’ve chosen the image file you wish to save your image as, you can now select the various image quality options that are unique to each file type. The JPEG image quality selection is pretty straightforward. For the highest quality image, you would either select “Maximum” or set “Quality” to 100. For PNG images, as stated in the table above, the more colors that you choose (up to 256), the higher quality the image will be. Lastly, when saving a GIF image, similar to PNG, the more colors you choose, the higher the image quality. Just keep in mind that the more colors you choose to keep in the image, the larger the file size. The fewer colors you choose, the smaller the file size. You just can’t have it all!
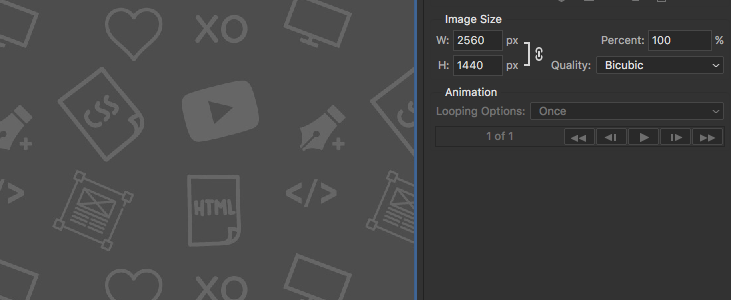
When saving images for the web, it’s also important that they’re saved as the final image size of the image you plan on using on the web. Images that are saved much larger than their final use will increase page loading time which is something that you should avoid.
Saving the image
Once you’ve completed all the steps above, it’s time to save your image. All you need to do is hit “Save” at the bottom right-hand side of the window. Easy!
Conclusion
Saving high-quality images for the web, in Adobe Photoshop is easy. By implementing the tips and information discussed above, you’ll be able to save high-quality images for your website. There’s certainly more in-depth ways that you can save images for the web in Photoshop, however, for most web images, everything I’ve covered above is certainly enough.
Leave a comment below!
How do you normally save your images for the web? Are there any special methods or programs that you use to save your images? Let’s chat in the comments below!